


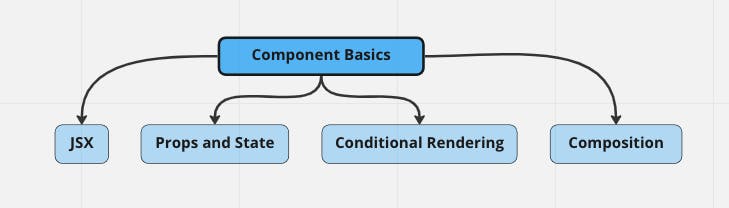
Let’s start with visualization:
JSX
JSX is a syntax extension for JavaScript used in React that allows you to write HTML-like code in your JavaScript code. It stands for "JavaScript XML" because it lets you create XML-like structures in your code.
In JSX, you can write HTML-like tags and elements directly in your JavaScript code, which makes it easier to create and manipulate UI components. For example, instead of creating a new element with document.createElement(), you can simply write the element directly in your code using JSX.
const element = <h1>Hello, world!</h1>;
This creates a new h1 element with the text "Hello, world!" and assigns it to a variable called "element".
Behind the scenes, React transforms this JSX code into regular JavaScript code using a transpiler like Babel. The resulting code looks something like this:
const element = React.createElement("h1", null, "Hello, world!");
This creates a new element using React.createElement() function and passes in the same arguments as the JSX code.
JSX makes it easier to write and read code for UI components in React, but it's not required to use it. You can also create UI components using regular JavaScript functions and createElement() calls, but JSX simplifies the process and makes the code more readable.
Props and State
In React, props and state are two important concepts for creating and managing UI components.
Props (short for "properties") are used to pass data from a parent component to a child component. They are read-only and cannot be modified by the child component. Props are passed down the component tree and can be accessed using the props object.
In our application it would look like this:
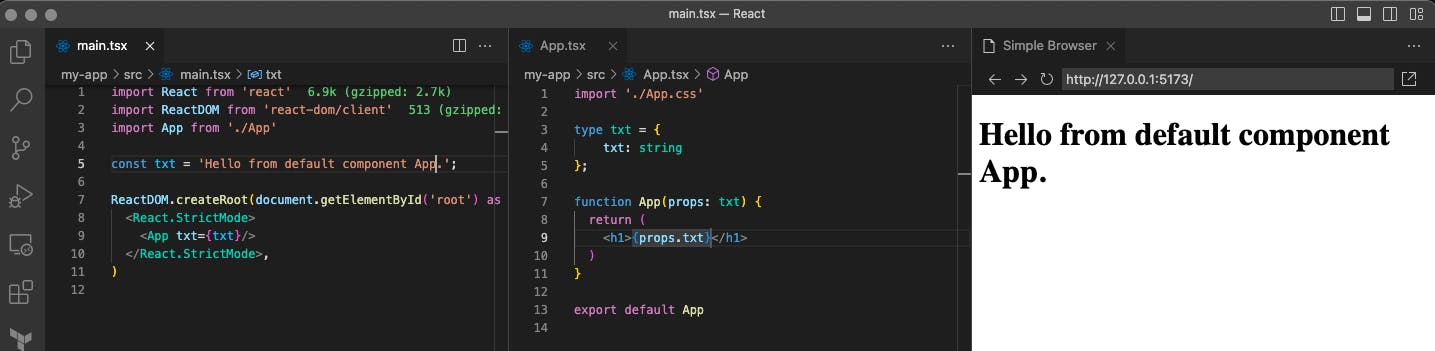
We define variable
txtinmain.tsxfile;Transfer it to our component
<App txt={txt}/>;And in
App.tsxfile output the value;
State, on the other hand, is used to manage data that can change over time. It is owned by the component and can be modified using the setState() method. When the state is updated, the component re-renders to reflect the changes.
In our application it would look like this:
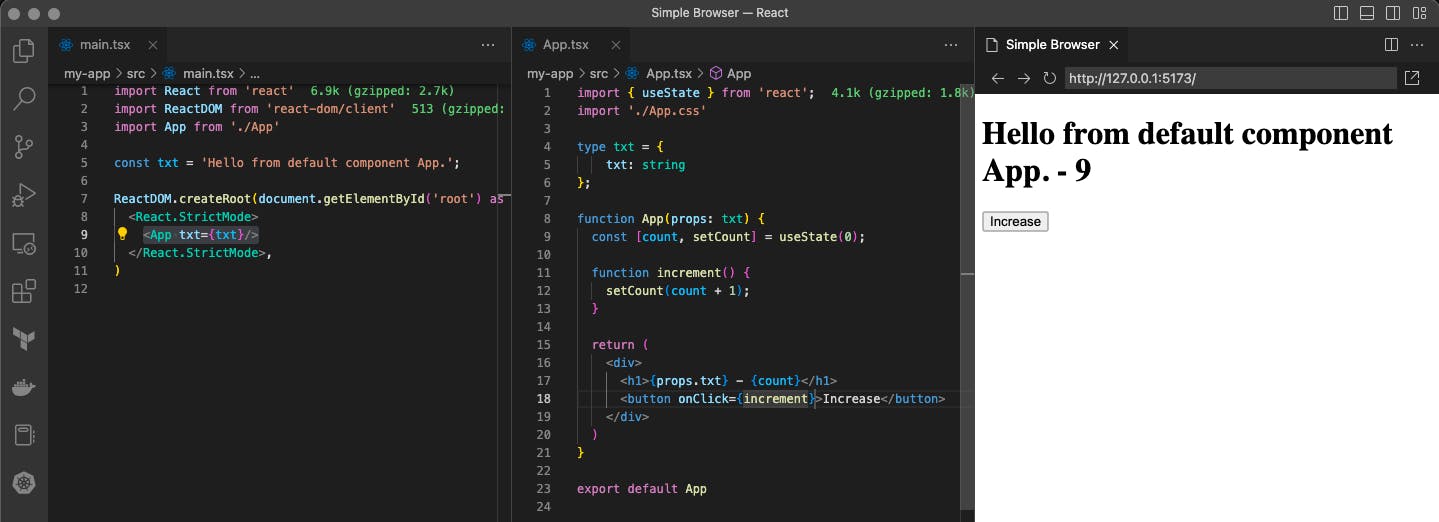
We added
useState()hook, which responded for state management;Created
increment()function;Added button with
onClickevent which callincrement()function;Added
countvariable output;
One important thing - if React Component contains more than one HTML element, it needs to be wrapped in the parent element, and for this parent element needs to be provided a unique identifier (I don’t do this, but you need to remember about this) because in this way React define what DOM element needs to be updated.
And if we will clicking on the button, our count variable will be changing.
Conditional Rendering
Conditional rendering in React allows you to control what is rendered on the screen based on a certain condition or set of conditions. There are several ways to achieve conditional rendering in React, depending on your specific use case.
One common way to conditionally render components in React is to use the ternary operator condition ? trueValue : falseValue.
Let’s see how it works in our application:

We change our
txtvariable to object with two properties;Then we builded a condition
count % 2 == 0which we control with our button;
Composition
In React, composition refers to the practice of breaking down complex components into smaller, more manageable parts. This can make it easier to build and maintain larger applications, as well as facilitate code reuse.
Composition can be achieved in React using a number of techniques, including:
Props: One component can pass data down to its child components through props, allowing the child components to render based on that data.
Render Props: A component can accept a render prop as a prop, which allows the component to render a specific portion of the UI based on a function passed to it as the render prop.
Higher Order Components (HOCs): An HOC is a function that takes a component and returns a new component with additional functionality. This can be used to add behavior or data to a component without modifying the original component.
Component Composition: Components can be composed together to create more complex components. For example, a form component can be composed of input components, a submit button component, and other components.
Let’s see what we can do in our application:
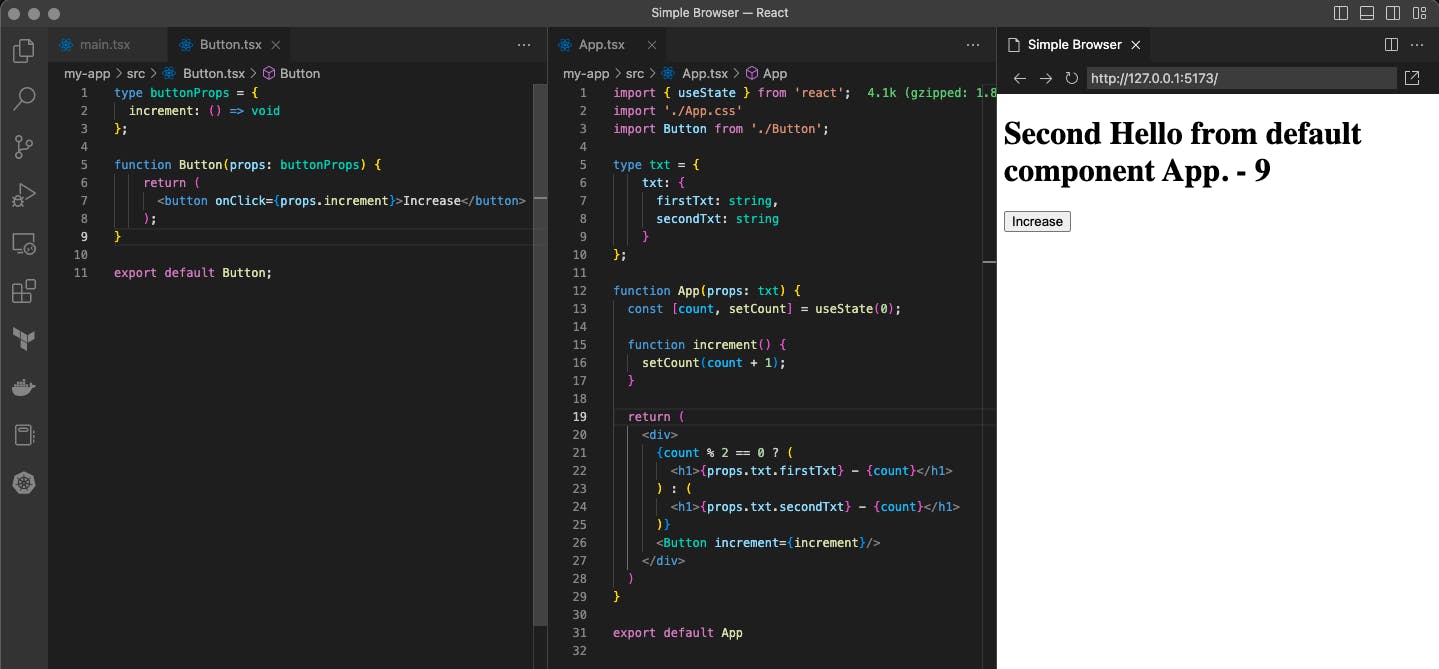
We created new
Button.tsxfile and transferred our button in the functional component;And imported our new component in
App.tsxfile;And here we use simple props composition;
Summary
In this note, we learned about JSX, Props and State, Conditional Rendering and Composition. Of course, they are more complex in work but we need only basics.
Previous Note - Component Basics
Next Note - Rendering